
I saw this tutorial in an old issue of Country Living (September 2007) and I just knew I had to try it out!! After trying it, I knew I had to share this with all my lovely readers. This gift card/money holder is just in time for the holiday season. They are so easy and quick to whip up and will sure make a big impression on the recipient. Here's the steps:

Step One: The magazine calls for regular vinyl to be stitched on but I wanted this to be a super quick project so I used iron on vinyl with a matte finish. The result was amazing. Cut the vinyl about 1 cm bigger than the post card.
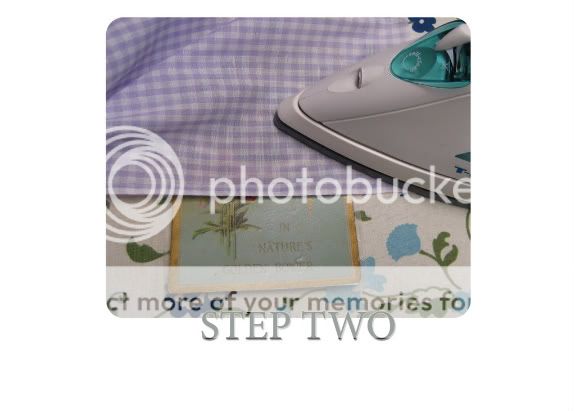
Step Two: Iron on the vinyl on a lower heat. I set my iron to the setting for synthetic material and use a press cloth. Once the front is ironed on, flip the card over and fold over the excess and iron that down. I did the folding method rather than cut off the excess.

Step Three: Fold the postcard in half and decide what side to be your front.
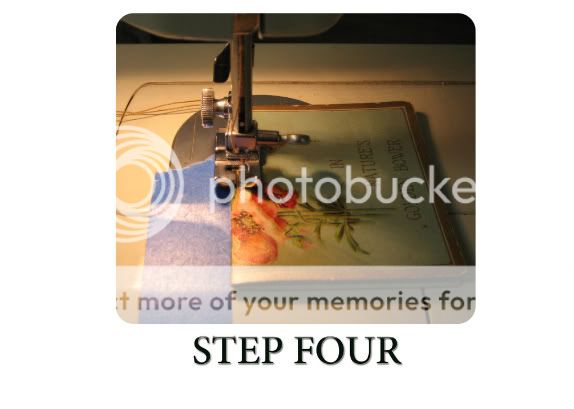
Step Four: Stitch down the three sides, leaving the top part open. I choose a decorative stitch, but you can use whatever you like.

Here's the finished product. The magazine called for a half moon shape to be cut out of the top to make it easier to access the card or money, but I chose to leave mine just the way it was because I really liked the gold border. I also used denim thread and that worked out very well. The magazine also suggested you could use a fancy embroidery stitch, like a blanket stitch to close up the sides; making this project easy to make even if you don't have a sewing machine.
I have a PDF version of the article in the magazine and if anyone would like it, please email me and I will send it to you. Hope you enjoy and I would love to see your finished product!!!
Emily